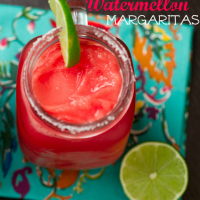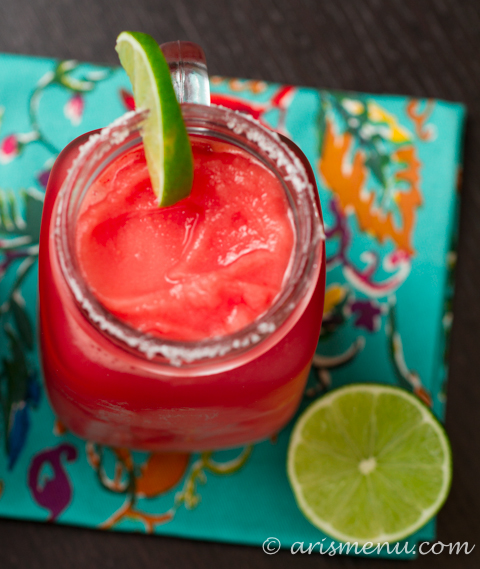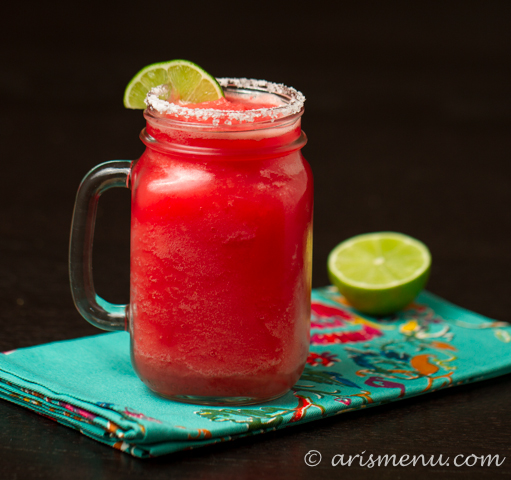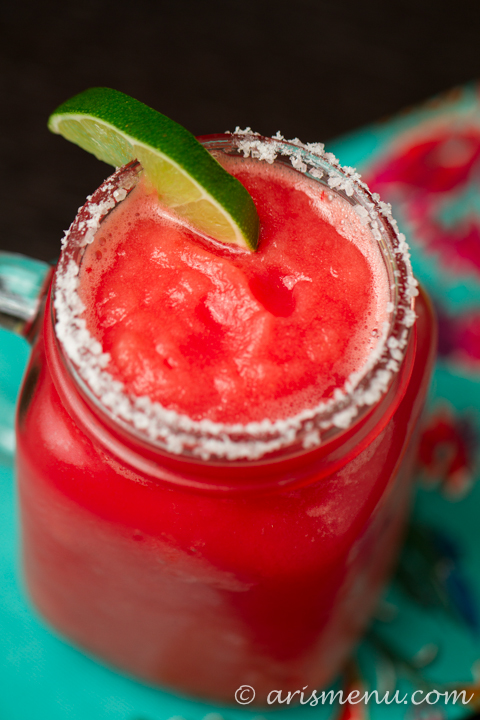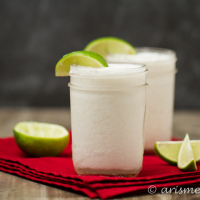
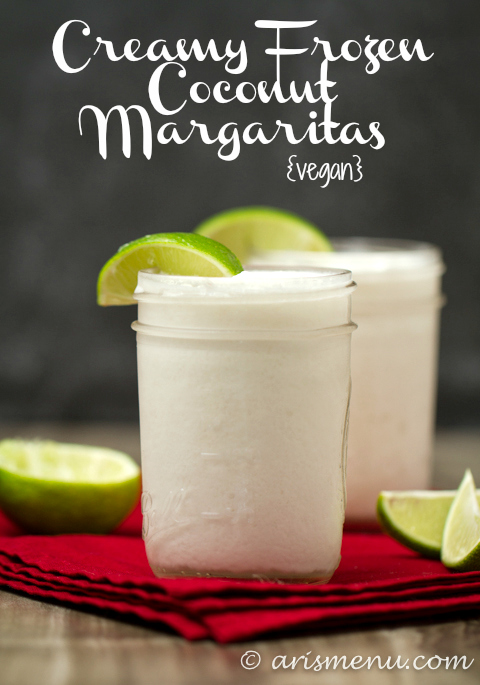
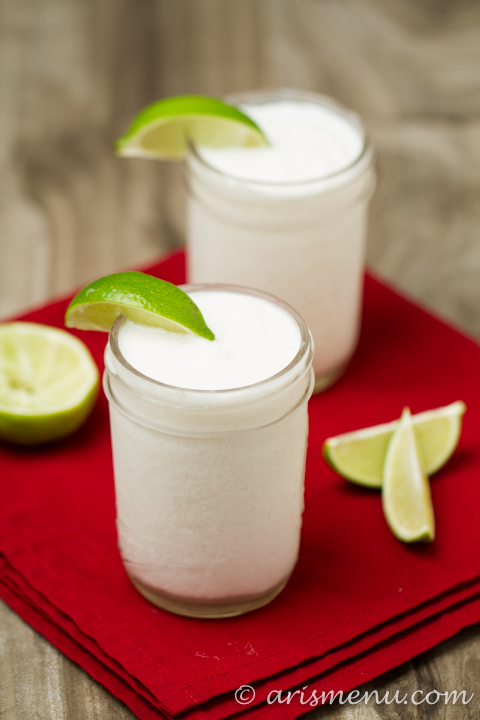
Thick and creamy frozen coconut margaritas beat anything you could order at a restaurant. Naturally sweetened with no sour mix, and blended with ultra creamy coconut milk.
Is it bad that I just had a 3 day weekend and all I can think about is the next 3 day weekend? To be fair, my long “weekend” was mostly spent in the back of a van. Oh, and ya know, running to Seaside.
If you’ve been reading for a while, you may remember that I ran Hood to Coast last year. Or…at least I ran some of it. After being out for 6 months with an injury, I had just started running again basically from scratch a couple of months before, and the race was just too much too soon. My injury started acting up during my second leg, and I knew if I wanted to avoid an other 6 months on the sidelines, I had to step back.
It was hard. I took a break from running, rode my first century, and now that I’m almost a year back into running consistently, it was absolutely freaking amazing to go back and finish this year! It was a total whirlwind, and I swear after being awake for a solid 24 hours, I started to lose my shit, but I would do it again in a heartbeat! I mean, like, can we do it again this weekend? Because I’m already missing it.
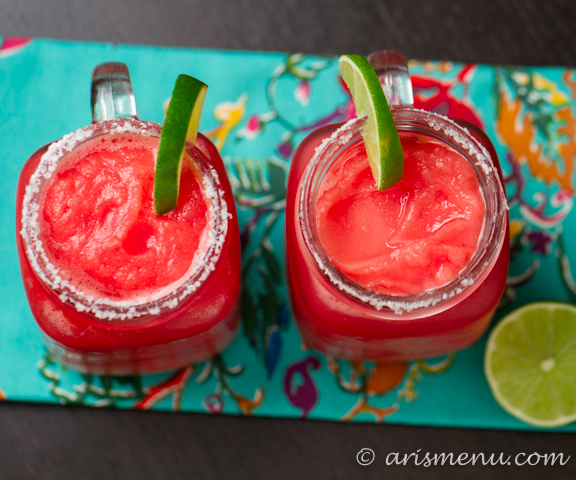
Anyway, after being home for less than 2 weeks, going back to Oregon, running this race, and then landing Monday morning to go straight into work, I am really ready for this 3 day weekend. And I plan to spend it lounging by my pool drinking frozen coconut margaritas. Oh, maybe you’d actually like to know a little bit about them, and not just about how I’m obsessed with relays?
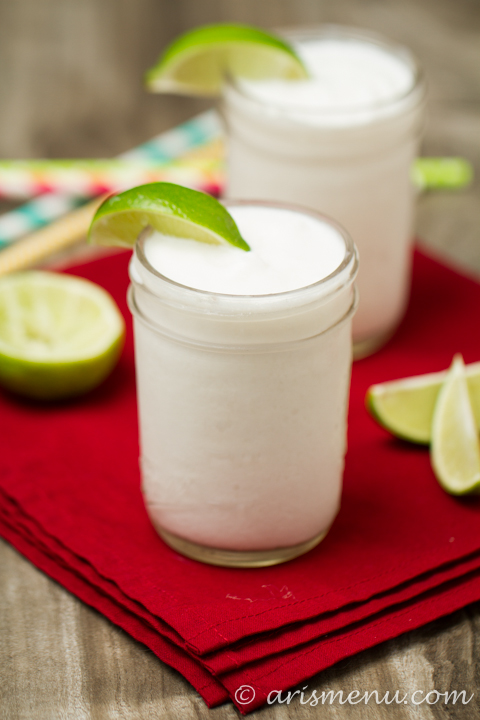
What makes these babies so special is the coconut milk / tequila / orange liquor ICE CUBES! It takes an extra step, but making the coconut milk ice cubes is essential to getting the right creamy texture for your margaritas. We’ll use regular ice too, but too much, and you’ll have a watery mess on your hands. They are also made with a to-die-for coconut simple syrup and they include coconut extract for triple coconut-y flavor! And ya know what? Even my husband who usually hates coconut enjoyed them!
Thick and creamy frozen coconut margaritas beat anything you could order at a restaurant. Naturally sweetened with no sour mix, and blended with ultra creamy coconut milk.
Ingredients
- 1 x 14 ounce can full fat coconut milk
- 1/2 cup tequila
- 1/4 cup orange liqueur (like triple sec, grand marnier, etc.)
- 1 1/2 cups water
- 1 tablespoon agave nectar
- 3/4 cup sweetened toasted coconut
- 8 coconut milk ice cubes
- 2 shots coconut simple syrup
- 1-2 tablespoons agave nectar
- 1/2 teaspoon coconut extract
- 1 tablespoon lime juice
- 2 handfuls regular ice
Instructions
- To make the coconut milk ice cubes, whisk together coconut milk, tequila, and orange liqueur. Transfer to ice cube tray and freeze until solid.
- To make the coconut simple syrup, bring water and agave nectar to a boil in a medium sauce pan. Add toasted coconut, remove from heat and let sit for 30-60 minutes. Strain liquid through a fine mesh strainer. Return to heat and bring to a boil for 5 minutes, then remove and let cool.
- To make the margaritas, blend all margarita ingredients together until smooth. Repeat with remaining ingredients when desired.