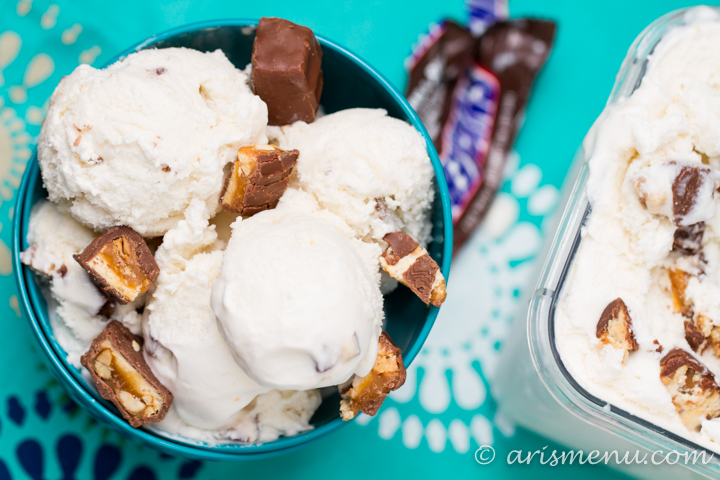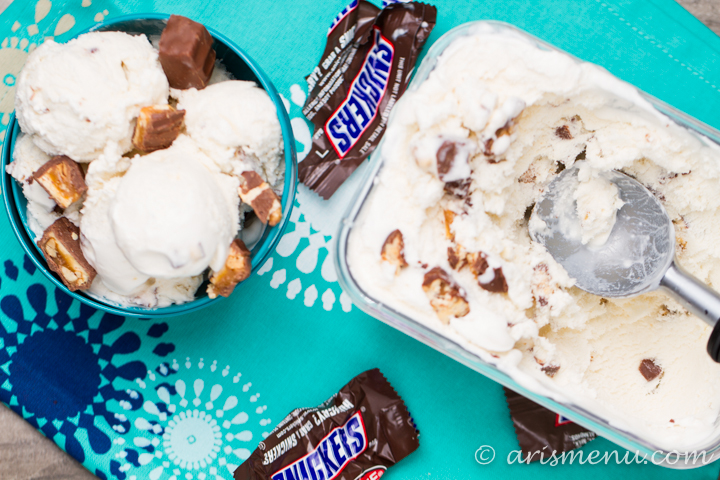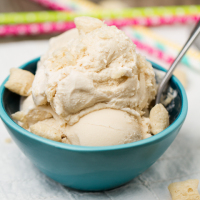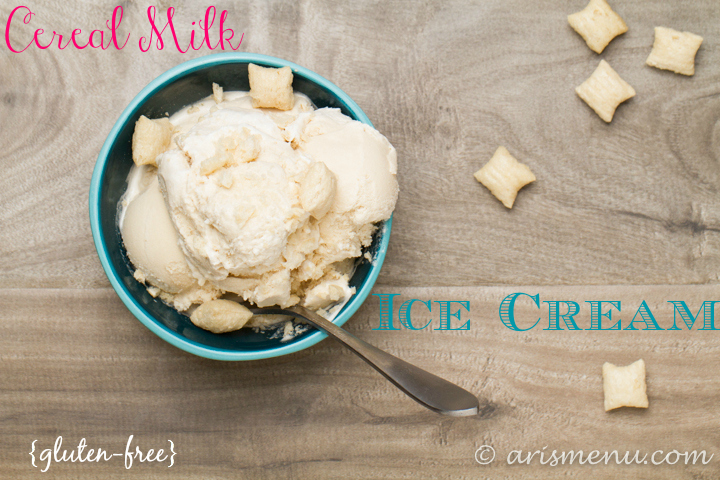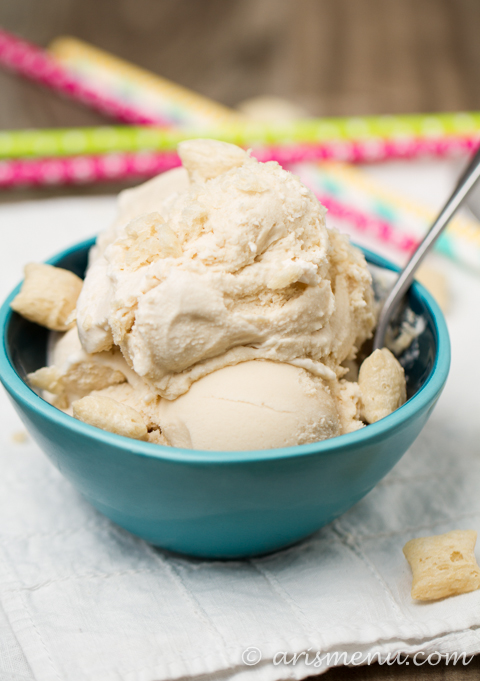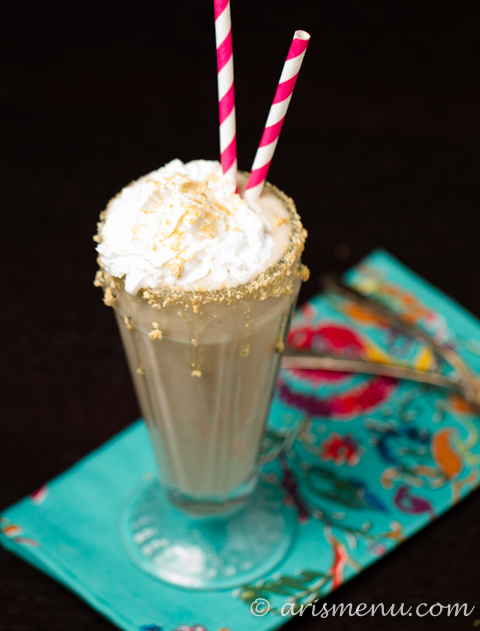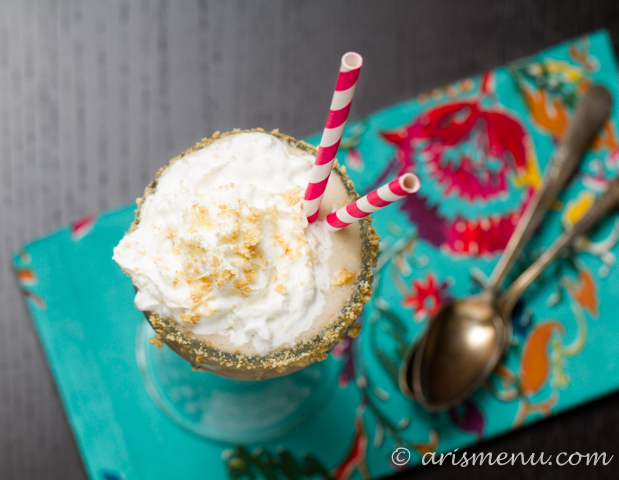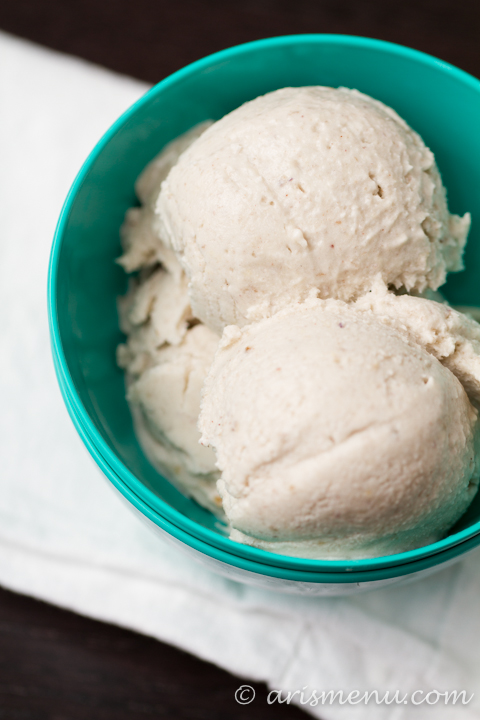
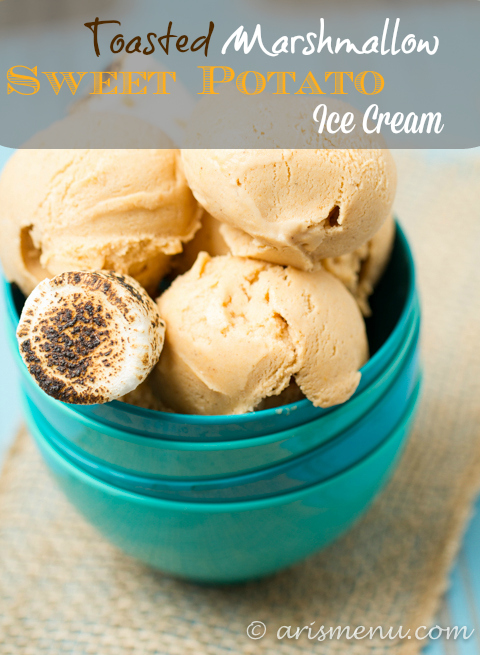
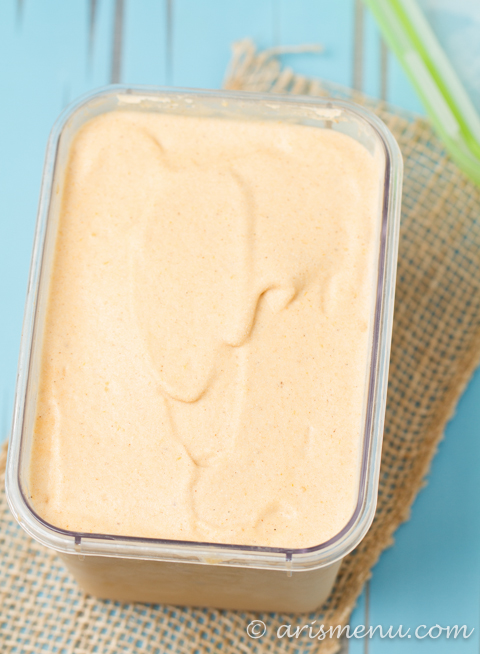
With all the flavor of classic sweet potato casserole, this Toasted Marshmallow Sweet Potato Ice Cream is the perfect Thanksgiving or any time dessert. Perfectly spiced, made with sweet potato puree and torched marshmallows.
It’s my favorite week of the year!! I go absolutely nuts for Thanksgiving. It’s my second favorite holiday (my birthday is my favorite because I love to be the center of attention 😉 ), and it’s my holiday to host. The first year I hosted, I made Thanksgiving brunch and dinner. It was exhausting, and it never happened again. Now I just put all my effort into the one meal, which is eaten as dinner, like a normal person, at 6pm. I don’t understand eating Thanksgiving “dinner” at noon. That is Thanksgiving lunch.
My favorite dish has always been my mom’s sweet potatoes. The recipe came from her mom, and she has made it for Thanksgiving every year for as long as I can remember. I just die over those perfectly browned, gooey marshmallows sitting on top of my favorite food. I still refuse to make them because they will never taste as good as hers.
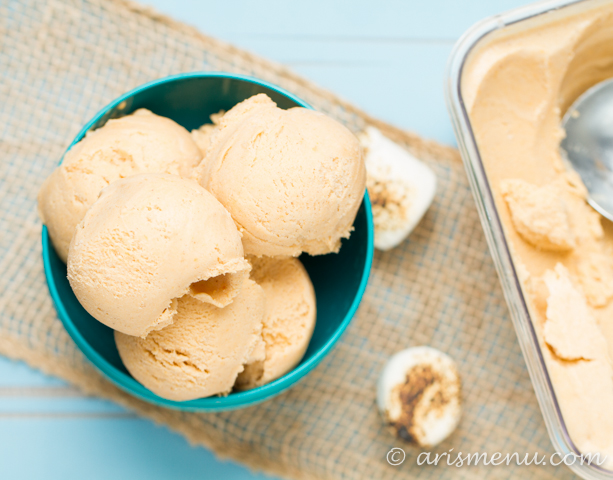
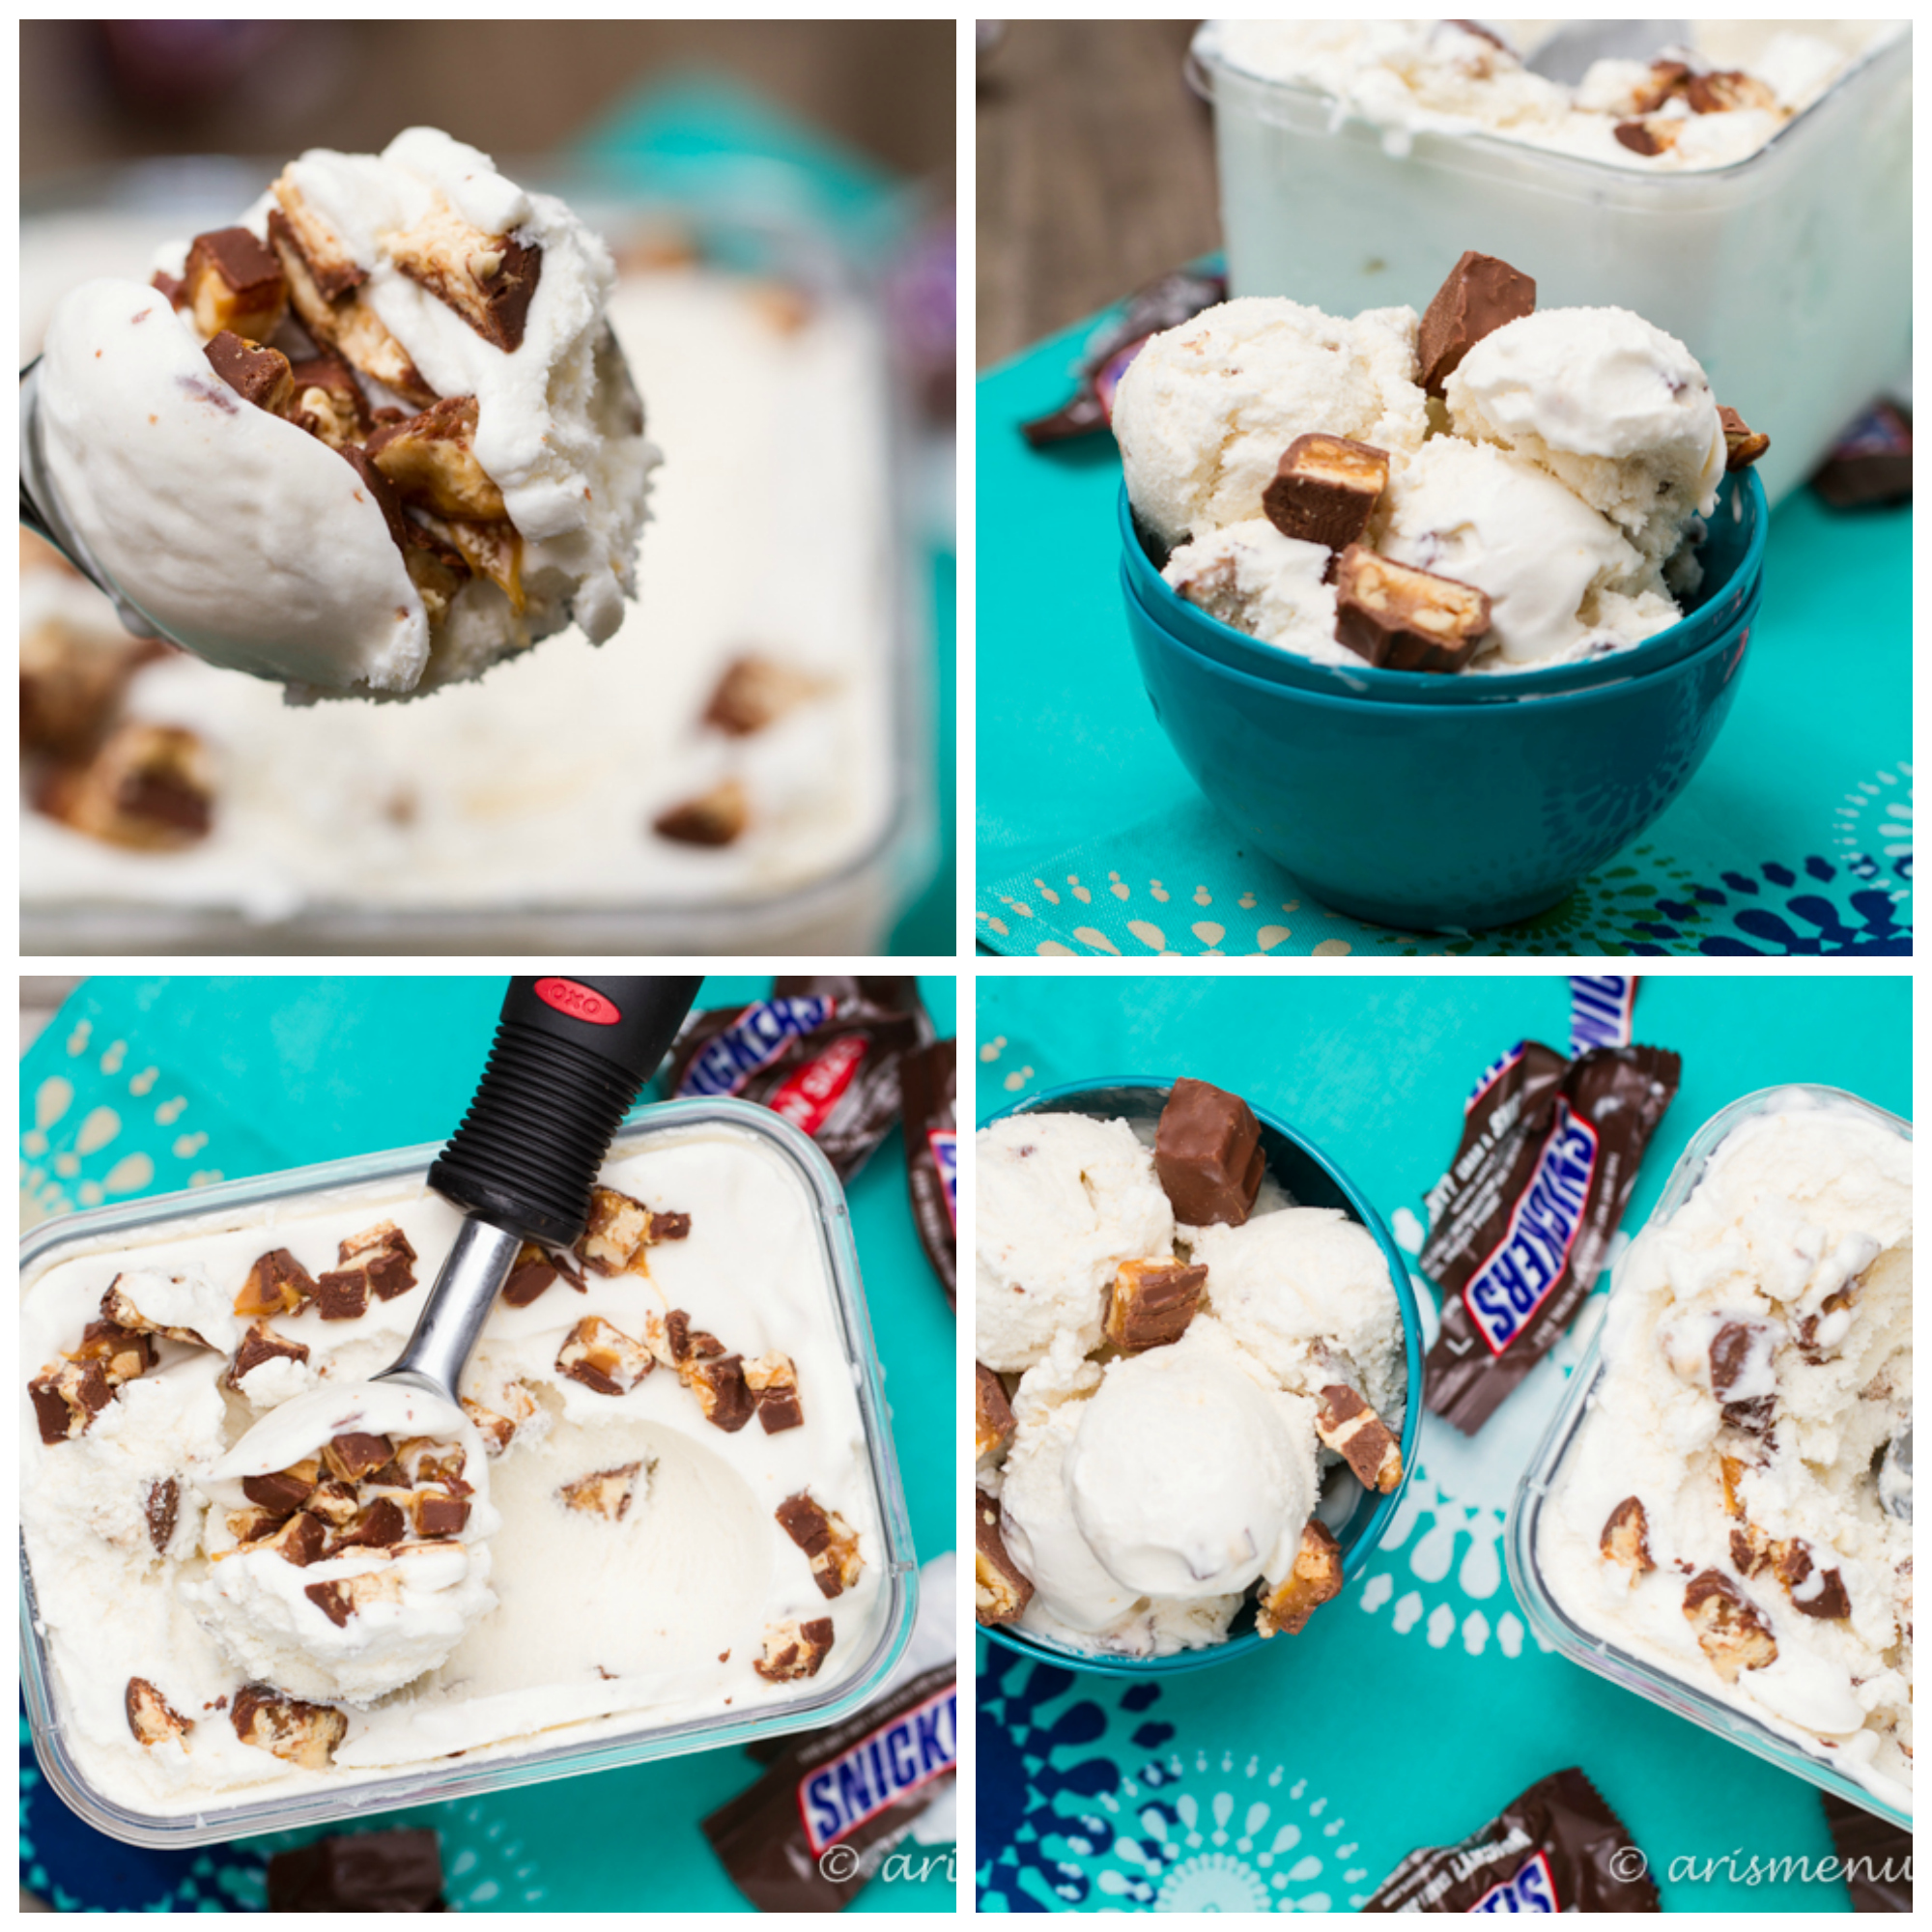
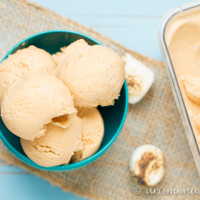
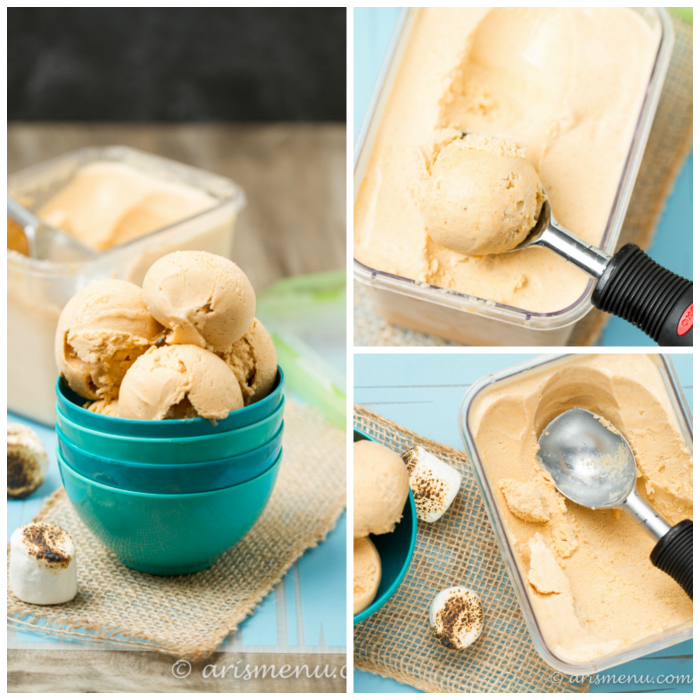
This year I set out to make my favorite side dish into an ice cream, and oh my gosh…you guys. I can’t even handle it. I can’t go a single day without dipping my little spoon into that container. In fact, I knew I had to make a whole other batch to have enough for Thanksgiving! The good news? The recipe is super hands off. It has a lot of components, but the most time consuming part is toasting the marshmallows, and if you want to do that more quickly, you can broil them in the oven. I prefer to use a brulee torch for even toasting, but that is me being type A, and you certainly don’t have to be that meticulous. 😉
Now before you go writing this off as super indulgent, I have to tell you that each serving has only 5.1 grams of fat and 155 calories. I usually don’t count these things, but I was curious because I figured the sweet potato, marshmallows and lower ratio of heavy cream (most ice cream recipes call for 2 parts heavy cream to 1 part whole milk, and I reversed that) would lighten it up a little. Those are the same nutrition figures as many varieties of frozen yogurt! The marshmallows do hike up the sugar content a bit, but this is dessert after all. And it is a Thanksgiving (or any time!) dessert that you can enjoy in moderation any time!
With all the flavor of classic sweet potato casserole, this Toasted Marshmallow Sweet Potato Ice Cream is the perfect Thanksgiving or any time dessert. Perfectly spiced, made with sweet potato puree and torched marshmallows.
Ingredients
- 1 medium sweet potato
- 1 x 10 ounce bag of marshmallows (mini or regular)
- 2 cups whole milk
- 2 cups heavy cream
- 2 tablespoons brown sugar (dark brown sugar preferred)
- 2 tablespoons pure maple syrup
- 1 tablespoon cornstarch
- 1 cup heavy cream
- 1/2 tablespoon ground cinnamon
- 1/4 teaspoon ground cloves
- 1/8 teaspoon ground ginger
- 1/8 teaspoon ground nutmeg
- 1 teaspoon vanilla extract
- 1 tablespoon bourbon, optional
Instructions
- Pierce sweet potato several times with a fork. Roast at 400 degrees until very soft (you should easily be able to slide a fork right into the sweet potato), about 60-80 minutes. Let cool for about 15 minutes until it is easy to handle, then remove skins.
- Place marshmallows on a large cookie sheet lined with silpat or parchment paper. Either torch with a brulee torch, or broil until browned, about 5-10 minutes. Once marshmallows are well browned all around, place them and peeled sweet potatoes in a blender or food processor and blend/process until smooth and combined.
- In a small sauce pan, combine 1 cup whole milk with brown sugar and maple syrup. Bring just to a boil, then reduce heat and stir constantly until brown sugar is fully melted and combined. Transfer to blender/food processor and add remaining milk, heavy cream, cinnamon, cloves, ginger, and nutmeg. Blend/process to combine for about 15-30 seconds. Transfer to a large bowl or tupperware. Cover and refrigerate 8 hours or overnight.
- Freeze according to ice cream maker instructions. Add vanilla and bourbon (if desired) in the last 2 minutes of freezing. Transfer to a freezer safe container to finish freezing completely.
Notes
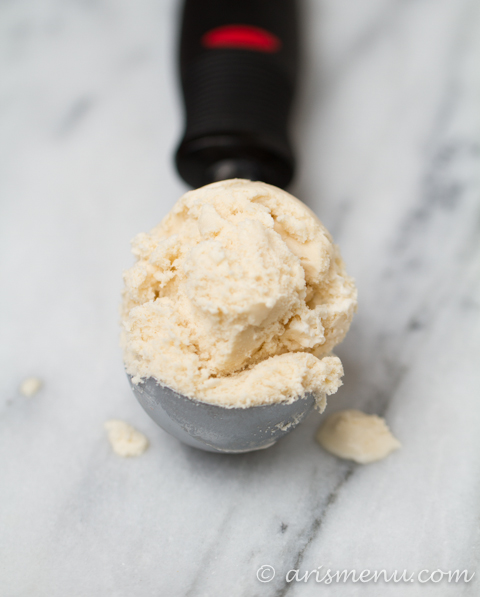
Before serving, let the ice cream soften for about 10 minutes at room temperature for optimal scooping.