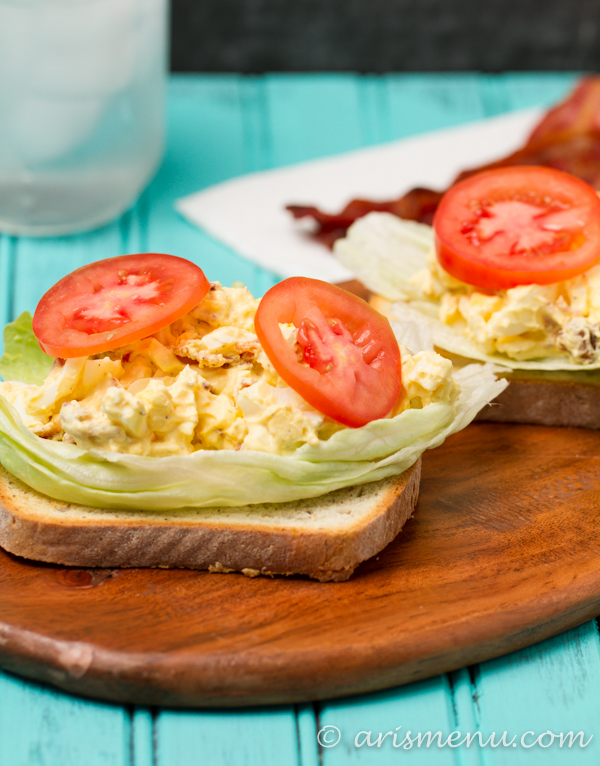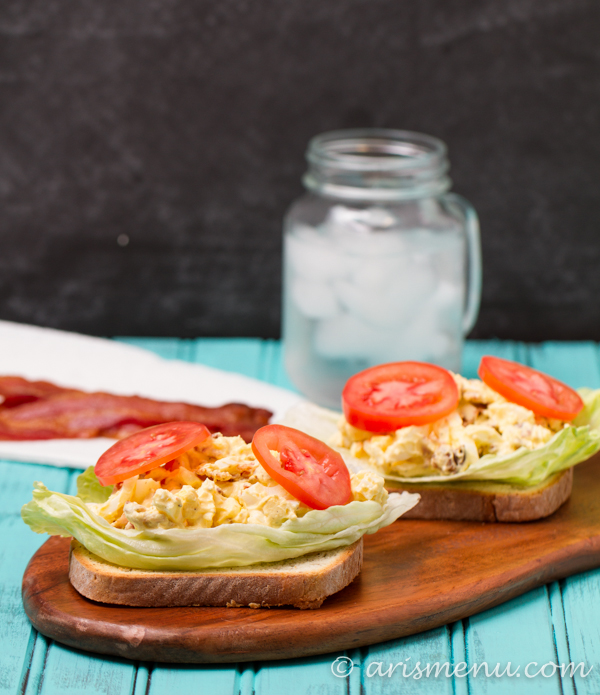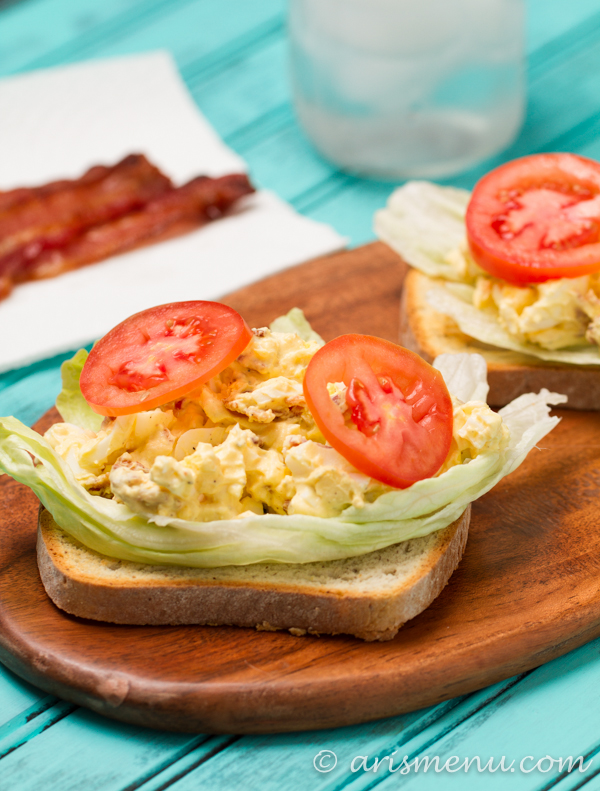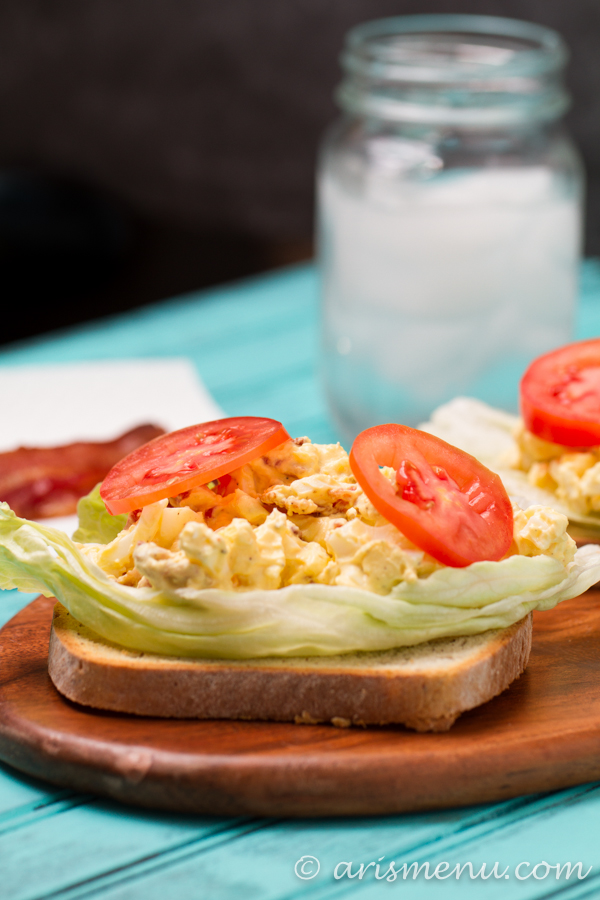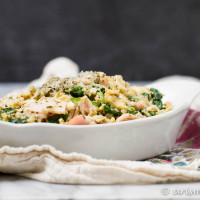
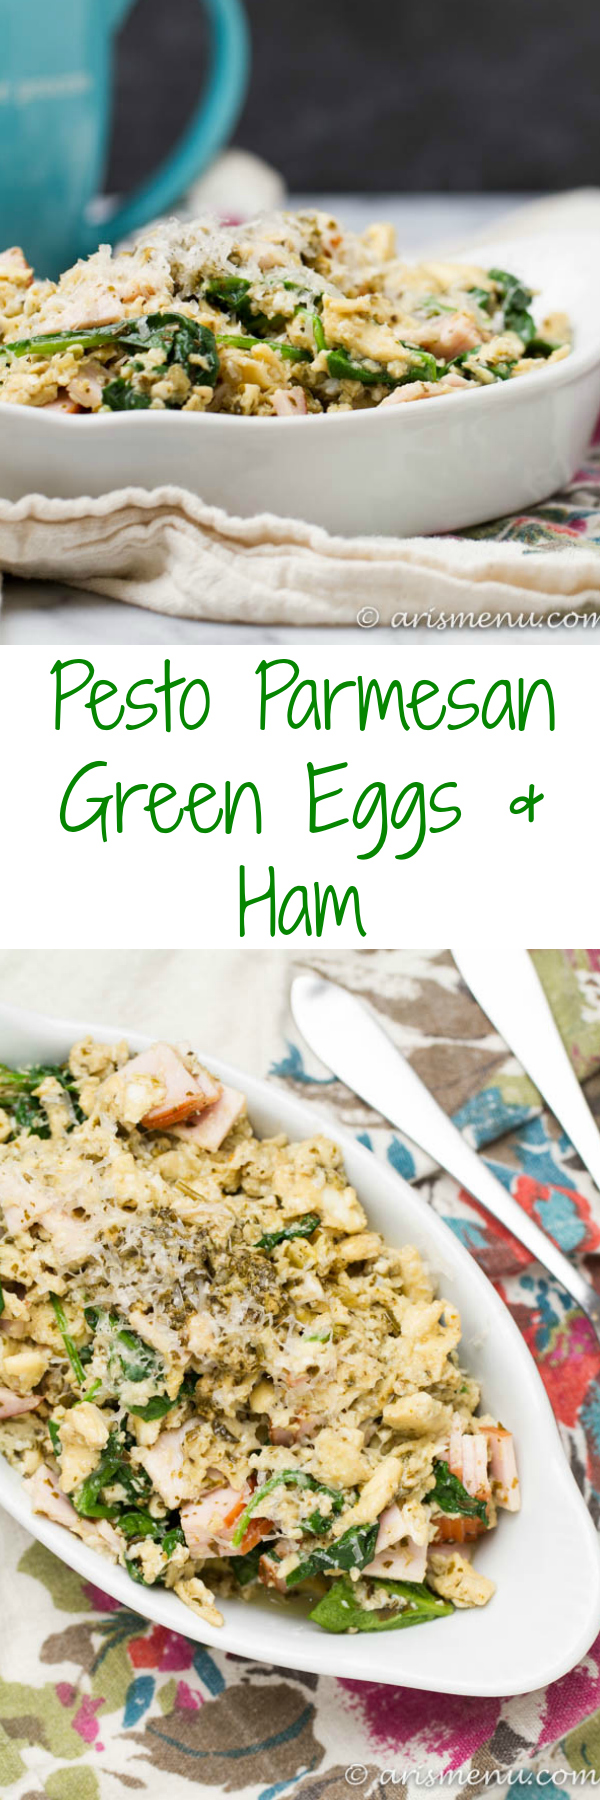
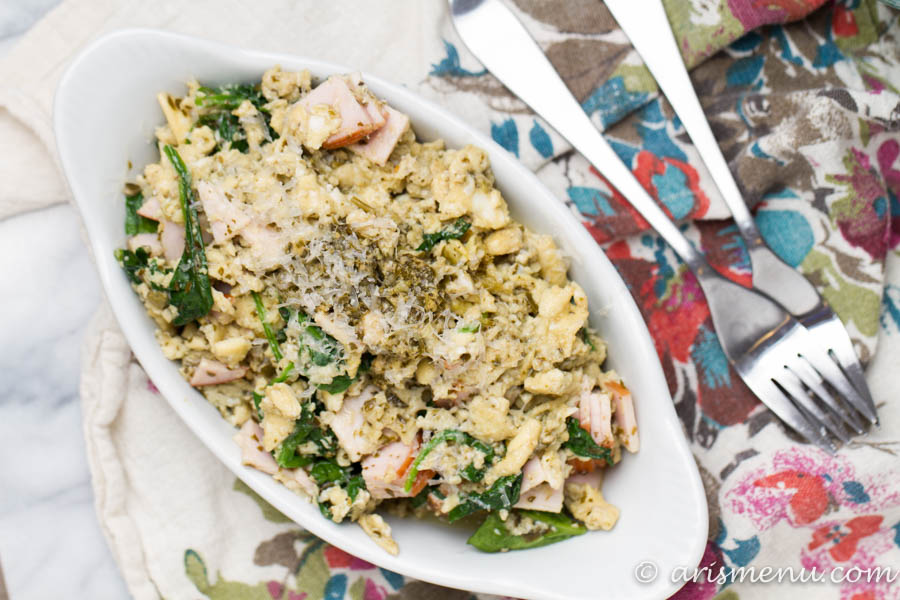
Hearty and full of flavor, pesto parmesan green eggs & ham are the perfect healthy breakfast, lunch or dinner!
I went to college in a verrrry small town in Idaho with approximately 2 breakfast options: The Bagel Shop, which was awesome, but more for for those 2am after the bar kinda nights, and The Breakfast Club, which was packed every single weekend morning with all the college kids making their visiting parents take them out for breakfast. Myself included.
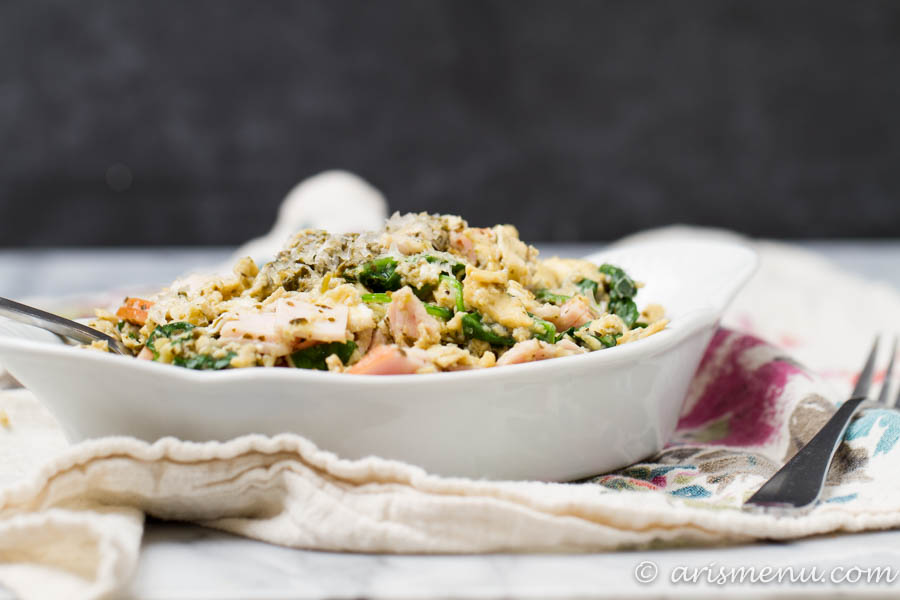
I would always either get pancakes (with bacon and eggs and maple syrup on top, of course) or their almost-famous green eggs and ham with pesto and parmesan cheese. It was the bomb. I know nobody says the bomb anymore, but I am stuck in 1997. Don’t judge me. Anyway, I’ve been meaning to recreate this dish for a good long time, and after 20 hours of travel and a crap ton of jet lag, this super easy dish was the absolute perfect dinner.
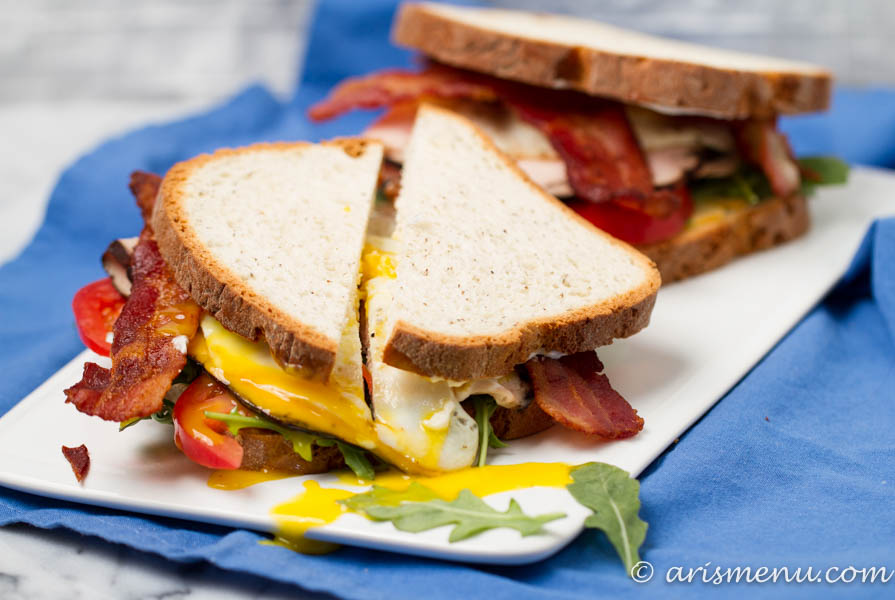
Lately I’ve been eating a lot of eggs and I’ve been using Eggland’s Best eggs. Compared to regular eggs, Eggland’s Best eggs have 25% less saturated fat, 1o x more vitamin E, 4 x more vitamin D and 3 x more vitamin B12. If you’d like more information on their nutrition benefits, you can check out their nutrition info. They worked out great in this dish with the creamy pesto, and simple balance of flavors.
- 4 eggs (I used [url href=”https://goo.gl/owhi8q” target=”_blank”]Eggland’s Best[/url])
- 4 egg whites
- small pinch salt
- generous pinch pepper
- 2 tablespoons pesto sauce
- large handful baby spinach
- 3 ounces chopped Canadian bacon
- 2 tablespoons freshly grated parmesan cheese (+ more for topping)
- fresh basil for topping
- In a medium bowl, whisk together eggs and egg whites until well combined. Heat a medium-low nonstick skillet over medium heat. Spray with nonstick spray (or olive oil or butter). Add eggs and season with salt and pepper.
- Cook about 3/4 of the way (about 5-7 minutes, depending on the size of your pan), stirring often using a spatula or wooden spoon. Add pesto, spinach, Canadian bacon and parmesan cheese, and cook until eggs are fully cooked and spinach has wilted.
- Serve immediately topped with more parmesan cheese (if desired) and chopped fresh basil.
This post is sponsored by FitFluential on behalf of Eggland’s Best.