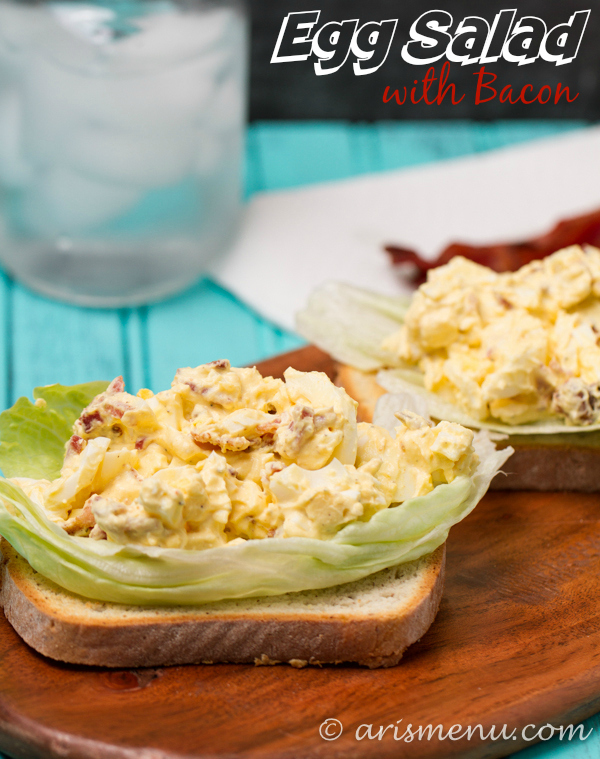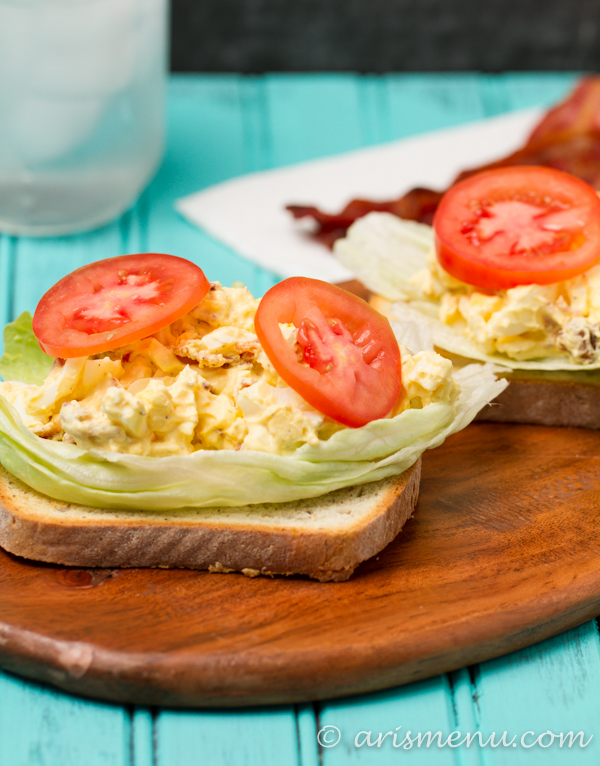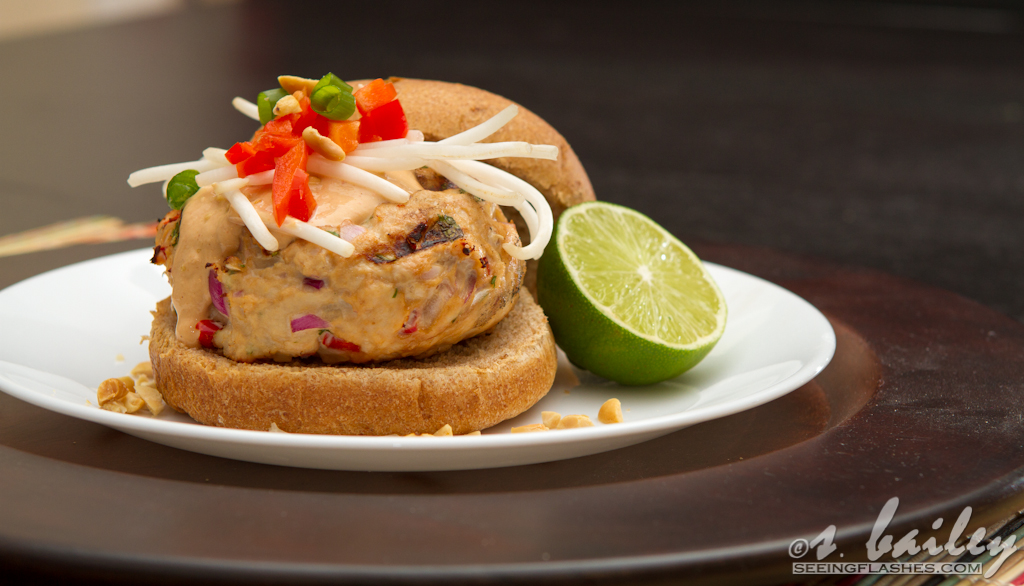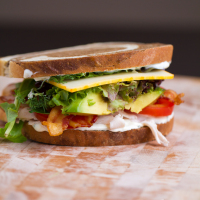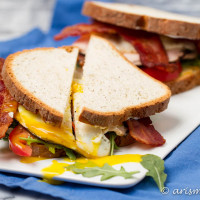
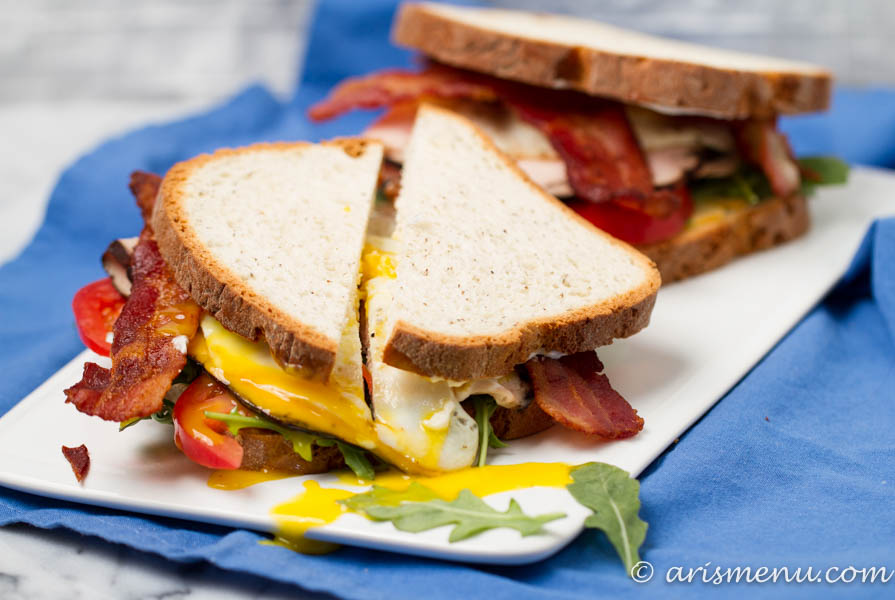
This truffle turkey club with a fried egg has roasted turkey, truffle mayo, crispy bacon, tomato, arugula and a perfect, drippy fried egg for the perfect combination of flavors and textures.
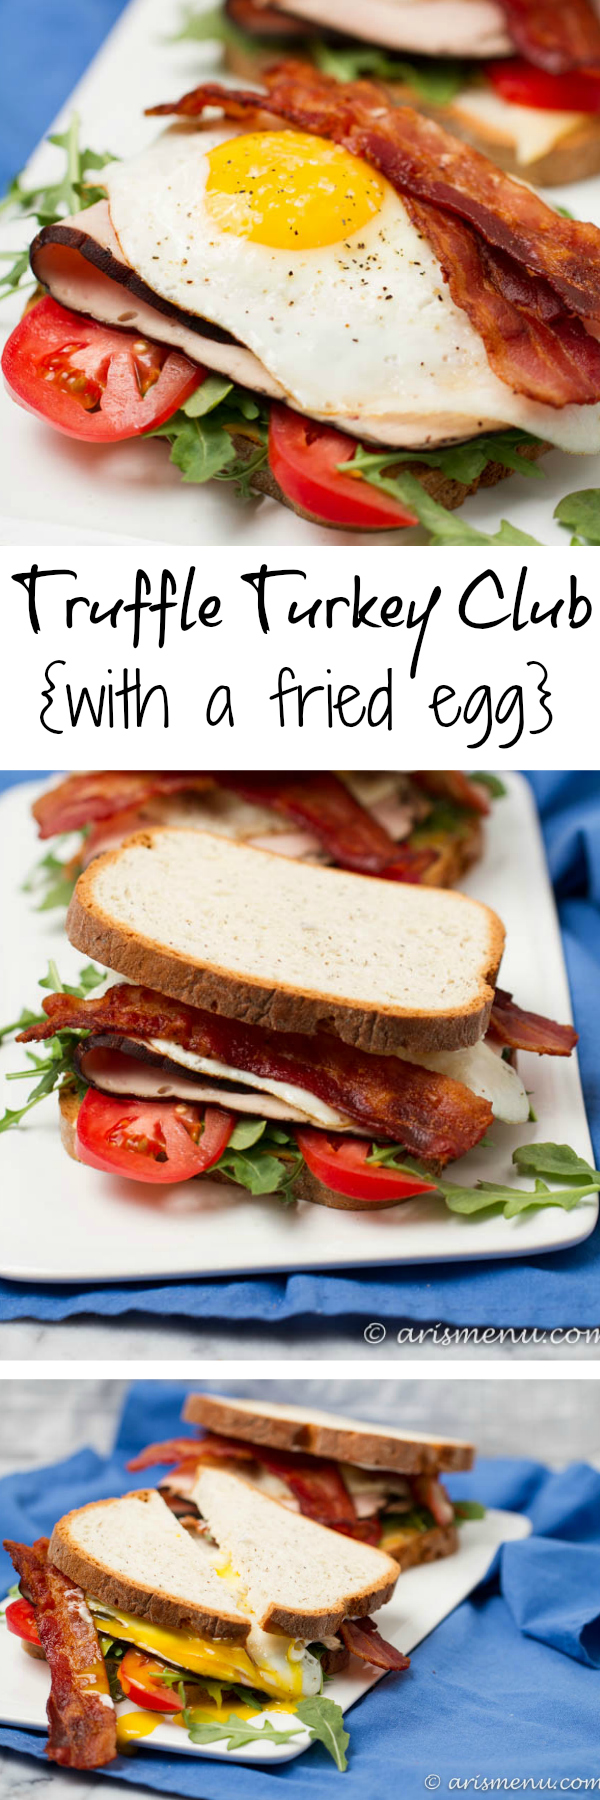
If you put an egg on a sandwich does that make it a breakfast sandwich? Or does the turkey make it lunch/dinner? I’m pretty sure it just makes it a sandwich for all meals, and that a drippy egg on just about anything makes it instantly 10x better. I know some people are freaked out by egg yolk, but I just think they’re missing out on one of the most delicious things life has to offer.
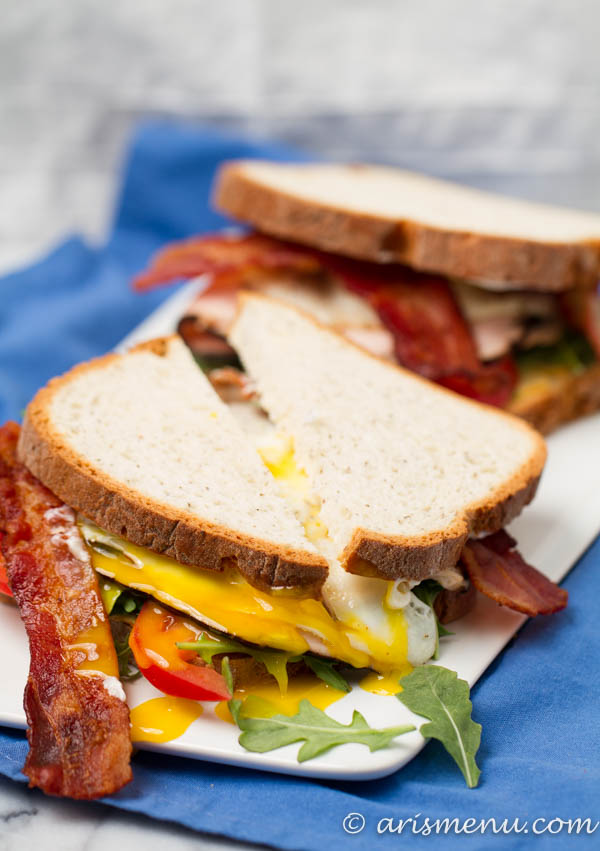
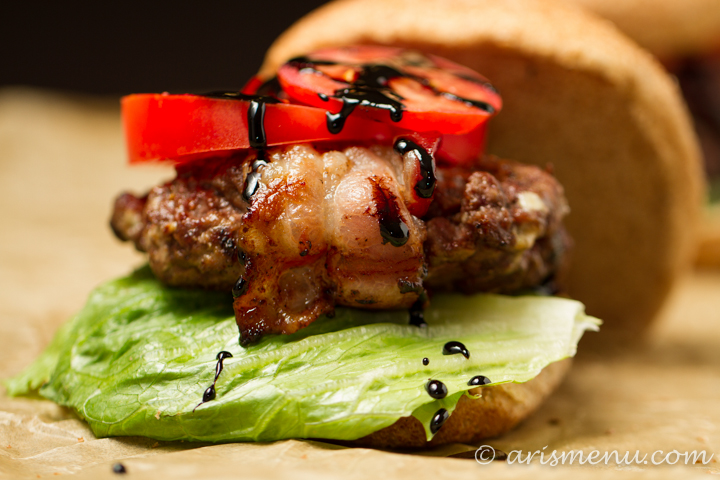
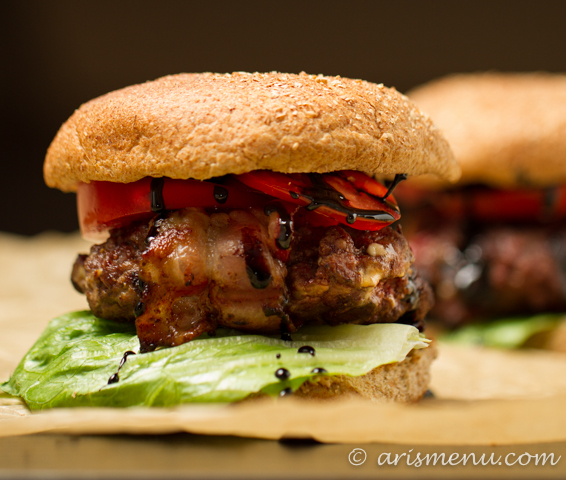
Okay, so you know those people that get their sandwich with just meat and cheese? I don’t understand that. I loooove sandwiches, but they have to be crazy, unique and have lots of different flavors. A delicious spread is mandatory, and bacon is always a plus. Add a drippy egg and you’ve made sandwich perfection.
For my sandwich I used Eggland’s Best eggs. Compared to regular eggs, Eggland’s Best eggs have 25% less saturated fat, 1o x more vitamin E, 4 x more vitamin D and 3 x more vitamin B12. Whoa! For more information on their nutrition, check out their nutrition info. I also use center cut bacon which is healthier than turkey bacon and about 20x better if you ask me. It all comes together to create the perfect, memorable sandwich.
- For the truffle mayo:
- 2 tablespoons light olive oil mayo
- 2 tablespoons nonfat plain Greek yogurt
- 1/2 teaspoon truffle oil
- pinch sea salt
- For the sandwich:
- 4 slices whole grain bread (I used gluten-free), toasted
- truffle mayo
- handful arugula
- 3-4 ounces sliced turkey
- 1 roma tomato, sliced
- 2 eggs, pan fried with a pinch each of salt and pepper
- 4 slices cooked center cut bacon
- To make the truffle mayo, whisk all ingredients together in a medium bowl. Taste and add more truffle oil and/or salt if desired. Assemble sandwich and serve immediately.
This post is sponsored by FitFluential on behalf of Eggland’s Best.